If you are attempting to connect to the Azure Hosted toxiCALL® Environment and are presented with a webpage stating “There is a problem with this website’s security certificate”, the necessary security certificate is not installed on the workstation. Please complete the following steps to install the required certificate.
NOTE: Installation of this certificate requires local administrator rights to the workstation.
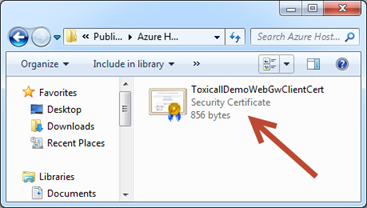
1. Locate the required certificate on the workstation you wish to use to connect to the Azure Hosted toxiCALL® environment. If you have not already been provided with the appropriate certificate file, please contact CAS support directly.
2. Right-click on the certificate and select “Install Certificate” from the context menu.
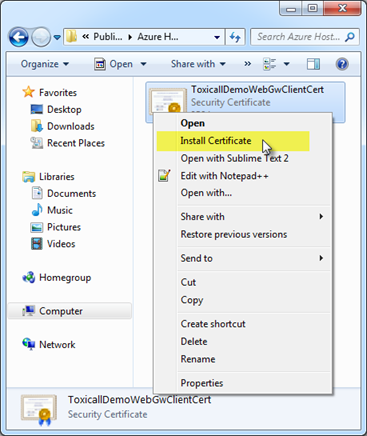
3. You may be prompted with a “Open File – Security Warning” verifying you wish to open the file selected. Select “Open” to continue with the installation.
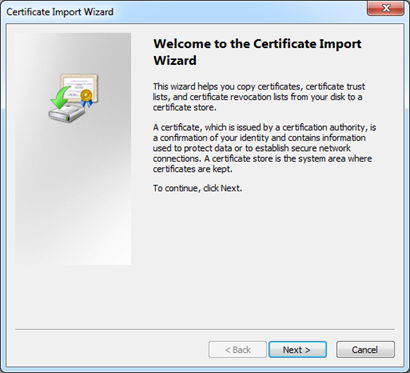
4. The certificate installation wizard will appear. Review the information on the start screen and press “Next.
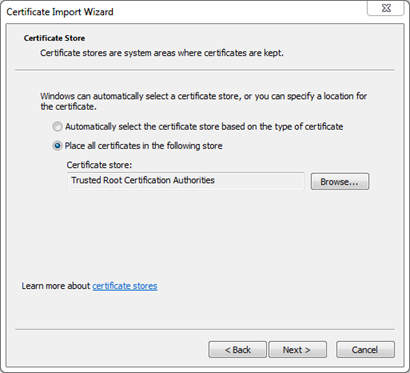
5. On the “Certificate Store” page, update the selection to “Place all certificates in the following store”.
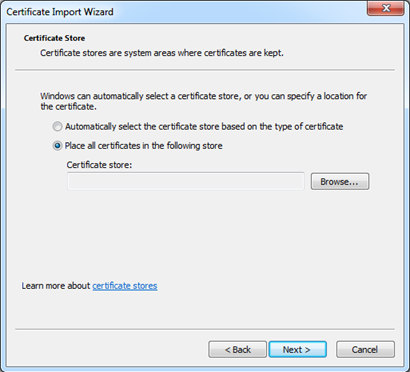
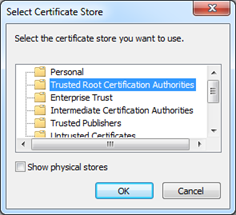
6. Select the “Browse…” button to select the store location to be used. Select the “Trusted Root Certification Authorities” store, then press “OK”.
7. The proper store location is now selected and should reflect the following image.
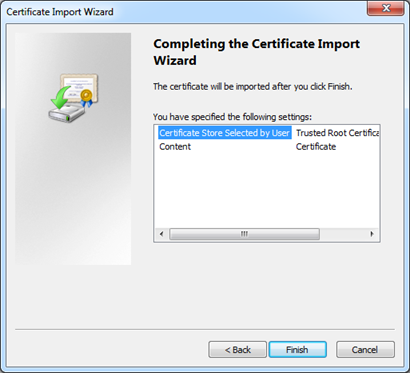
8. Press “Next” to continue the installation. A confirmation screen will appear. If everything appears correct, press “Finish”.
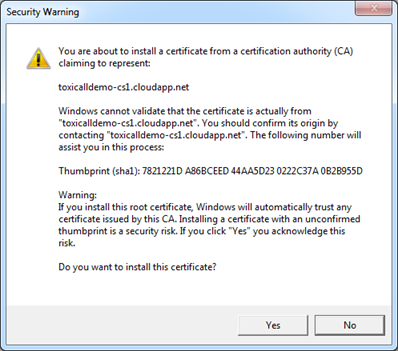
9. A prompt may appear stating the certificate is “self certified”, and would you like to continue. Press “Yes” to continue the installation. (We are currently working to have the certificate verified by a 3rd party organization.)
10. You will see a final success message once the installation is complete.
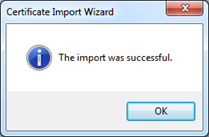
11. The security certificate is now installed on the workstation.
12. Open Internet Explorer and attempt to browse to the following link (https://toxicalldemo-cs1.cloudapp.net/RDWeb) you should no longer be presented with a security certificate message and be directed to a RemoteApp Desktop connection screen as shown in the following image.
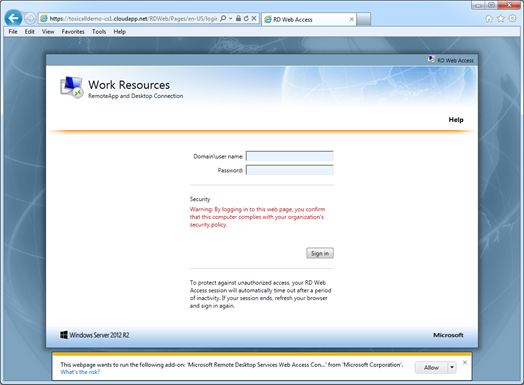
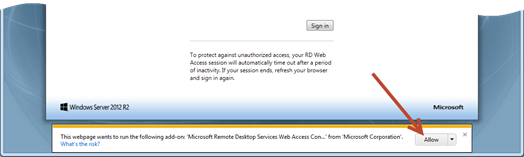
13. Note there is an Internet Explorer security prompt at the bottom of the browser window. It’s important that you allow the “Microsoft Remote Desktop Services” add-on to run. Select “Allow” when this prompt appears.
14. The web page will refresh and should no longer show security warnings. The following image represents the web page with no warnings present.
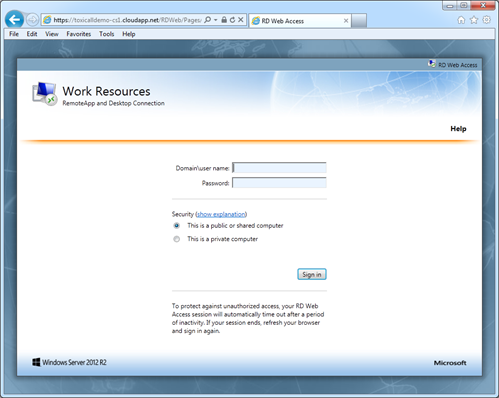
15. The installation of the security certificate is complete.