This portion of the documentation will walk you through the download and installation of the “toxiCALL® AutoUpload Viewer” application without the “Service” component of the software. This is ideal for staff members who wish to view the ToxAutoUplaod log entries from a remote location. toxiCALL® is not required to be installed on the same server or workstation. The “toxiCALL® AutoUpload Viewer” is a standalone software package.
Please note the “toxiCALL® ToxAutoUpload Viewer” desktop application may be installed on multiple workstations to allow the monitoring of the AutoUpload process. You may install the “Viewer” on as many workstations as required.
Dowloading the ToxAutoUpload Installation Package
The ToxAutoUpload installation package can be downloaded from the toxiCALL® online discussion forums linked below. A forums account will be required to access the download page. If you do not already have an active forums account, please feel free to create one and contact CAS support for activation.
ToxAutoUpload Download Link:
toxiCALL® / toxiCALL® Downloads
Installing the ToxAutoUpload Software
The following steps should be performed to correctly install the “toxiCALL® AutoUpload Viewer” application. Again, the “Service” component will * NOT * be installed.
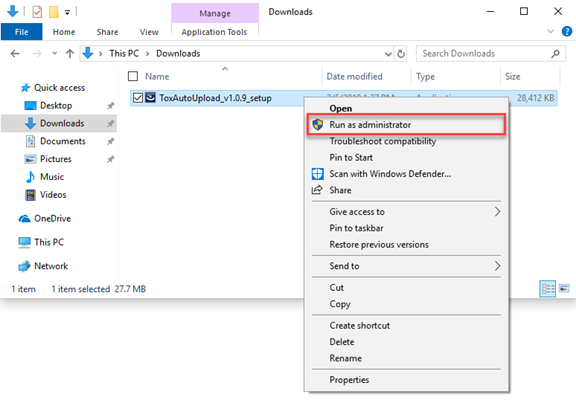
1. Run the installation package using the “Run as Administrator” option to ensure elevated permissions are utilized.
2. The installation “Welcome” screen will appear.
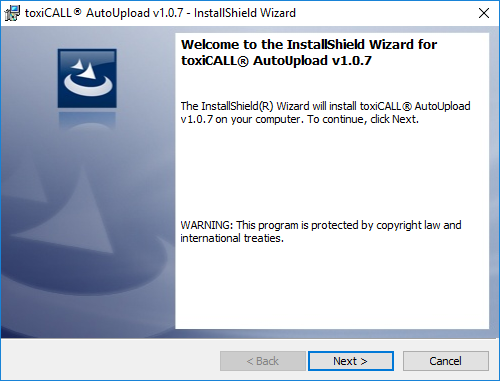
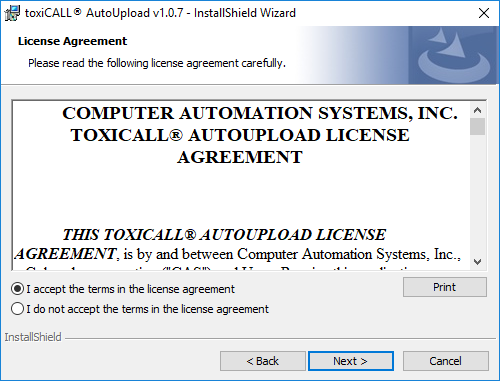
3. Select “Next” to continue to the “License Agreement” screen. Review the license agreement as needed then select “I accept the terms in the license agreement” to continue. Press “Next”.
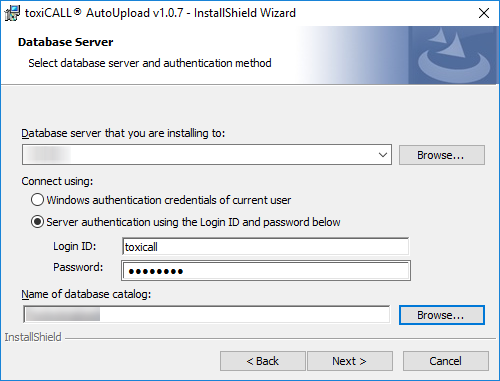
4. The “Database Server” screen will appear.
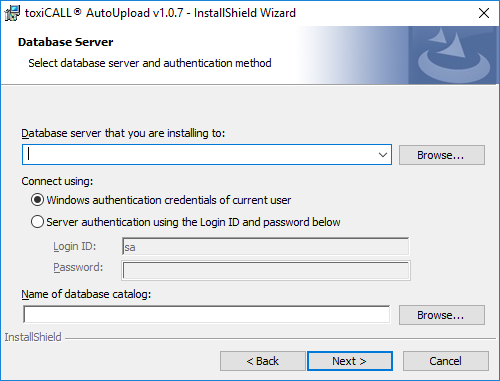
5. Please enter your toxiCALL® SQL Server database connection credentials. The credentials entered here are the same credentials you would enter for a new installation of toxiCALL®. Use the “Browse” button to verify the connection details and select the correct database name for your environment.
6. Press “Next” to continue to the “Setup Type” screen.
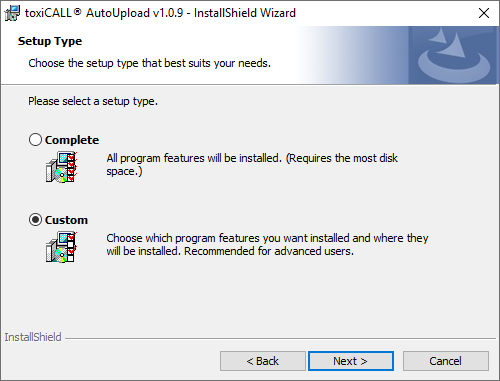
7. To install ONLY the “toxiCALL® AutoUpload Viewer” application, please select the “Custom” option. Select “Next” to continue to the “Custom Setup” screen.
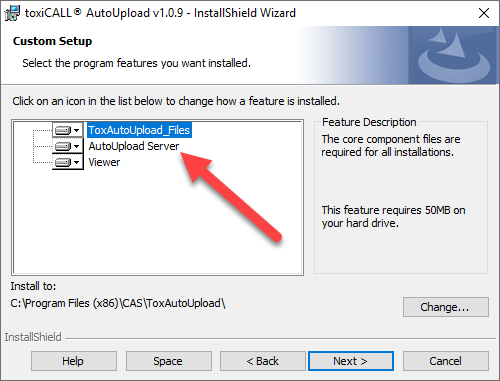
8. Select the dropdown menu option associated with the “AutoUpload Server” feature and update to have the feature * NOT * installed.
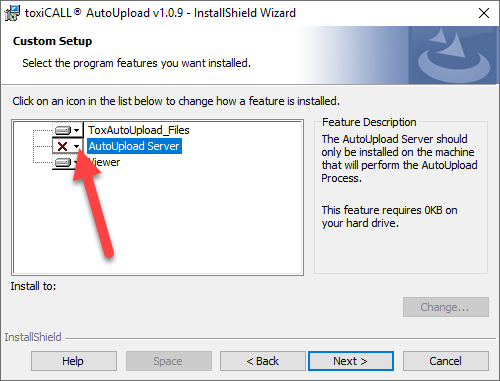
9. After you have confirmed the “AutoUpload Server” feature will * NOT * be installed, select the “Next” button to continue.
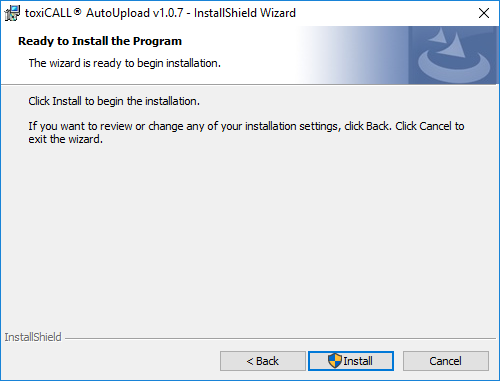
10. Select the “Install” button to start the installation.
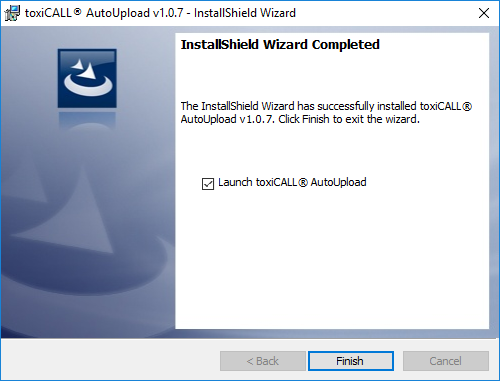
11. Once the installation is complete, select the “Launch toxiCALL® AutoUpload” checkbox. This will launch the “toxiCALL® AutoUpload Viewer” desktop application.
a. CONFIGURATION NOTE: If you are re-installing the “toxiCALL® AutoUpload Viewer” application, the previously existing configuration should still exist and there is no need to re-configure the application. If this is a new installation, please continue to the portion of this documentation.