The below sections will guide you through the toxiCALL® installation process whether you are performing a new installation or upgrading a current installation.
Existing Center - New Workstation Install Note: If you are installing toxiCALL® on a new workstation in an existing center and plan to use an existing “toxicall.ini” file in the process, please do not proceed until you have a discussion with CAS support to fully understand the process and risks involved.
Double click on the downloaded toxiCALL® installation package to start the installation wizard.
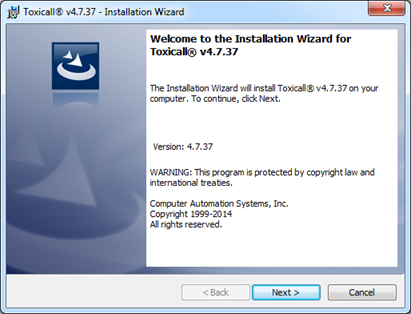
The first screen presented welcomes you to the installation wizard and displays the full version number of the application to be installed. Verify this is the version you wish to install and press “Next”.
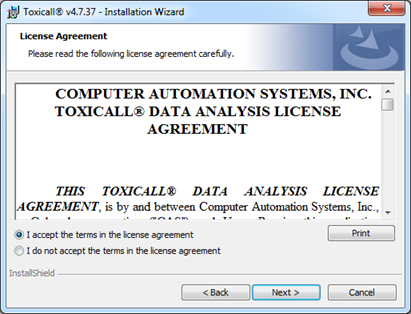
The toxiCALL® License Agreement will be presented. Review the license agreement and if you are satisfied with the terms presented, accept the agreement and press “Next”.
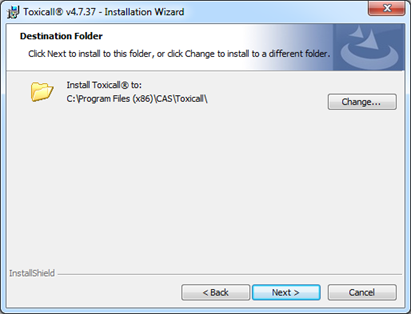
The next screen will display information regarding where the local application files will be installed. The installation wizard will default to a location of “C:\Program Files\CAS\Toxicall”. Unless there is a specific reason the application cannot reside in this directory, we strongly recommend that you leave this default location in place and press “Next”.
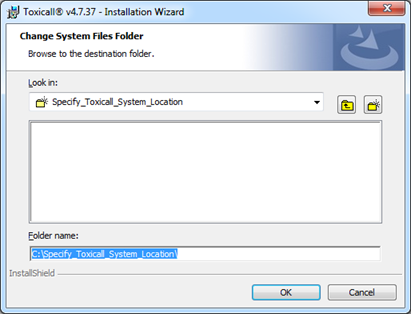
The next screen presented will ask where you would like to install the toxiCALL® System files.
If you are setting up toxiCALL® for the first time in your center and have not established a toxiCALL® network share yet, please refer to the documentation for creating a new network share and using its path for your network installation path. As stated above, be sure that all proper network mappings are in place on the workstation prior to continuing with the installation process.
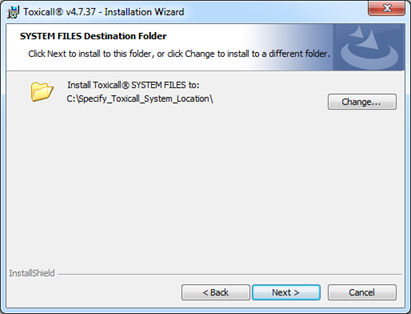
If the system files path location displays “C:\Specify_Toxicall_System_Location” the path MUST be updated to the proper toxiCALL® network share location.
IMPORTANT NOTE: DO NOT leave the path set to “C:\Specify_Toxicall_System_Location”. This will cause the system files to install to your local hard drive and toxiCALL® will NOT function properly.
Upgrade Installation: If you are upgrading an existing installation of toxiCALL® and the “System Files” path is set to “C:\Specify_Toxicall_System_Location\”, this means the previous installation of toxiCALL® was installed using the incorrect path. Even if the previous installation’s configuration was corrected after the install completed, the system files path will revert back to “C:\Specify_Toxicall_System_Location\” if you continue the installation.
To resolve this issue, you will need to exit the install wizard and un-install toxiCALL®. Once toxiCALL® is un-installed, run the installation wizard again to perform the installation and set the system files path to the correct location. This will ensure that the current upgrade and future upgrades retain the proper system files path and additional configurations will not be necessary.
Installing TOXICALL® in a test environment: Create a network share folder with the name of “ToxiNetTest”, “ToxicallNetworkShareTest”, or similar that can be mapped to all toxiCALL® workstations. Once you have this folder in place, please manually enter in the path to this folder in the toxiCALL® installation process. Be sure you have properly mapped the network location on the workstation to avoid data read / write / access issues.
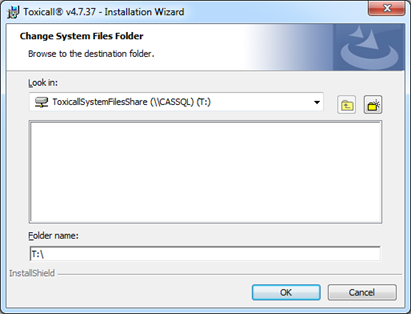
Manually update the path from “Configure_File_Location” to the proper network share path such as “T:\ToxiNet” or similar (whatever the proper path for your environment may be).
Update the path to the proper location and press OK.
Note: The System Files Path will be used for all upgrade installations. If this location changes since the last upgrade you must perform a un-install, then re-install in order to update to the new location properly.
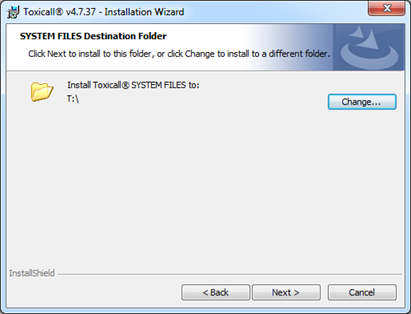
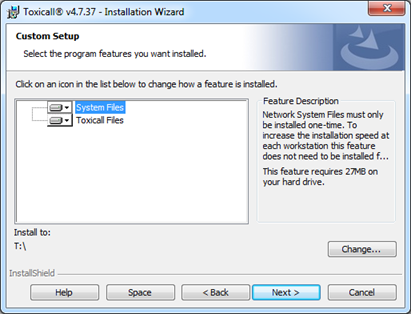
Once you have entered the system files installation path, press “Next” to continue the installation process. You will be presented with a screen asking you to select the features to install. Use the default setting (all features are to be installed) and press “Next” to continue.
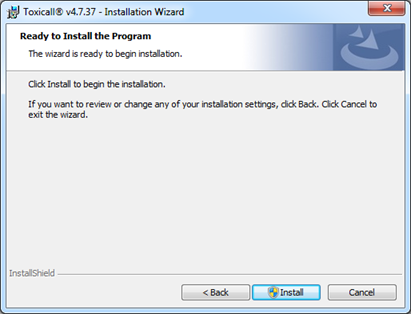
A “Ready to Install” screen will be presented. If you are ready to proceed, press “Install”.
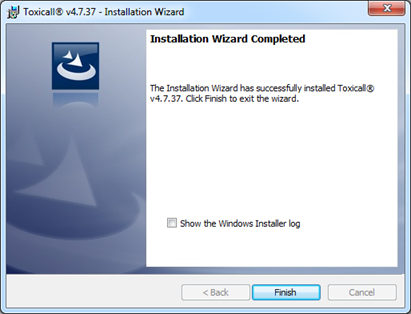
Once the installation is complete, press “Finish” to exit the installer.
When the installation is complete, you may or may not be asked to restart the workstation. In either event, we strongly recommend that you restart the workstation before using toxiCALL®.
Note: If you are upgrading an existing installation of toxiCALL® on multiple workstations, you may be interested in the AutoUpgrade feature. The AutoUpgrade feature allows an automatic update of all remaining toxiCALL® installations after the first upgrade is complete. Please refer to the documentation for more information on how to use this feature.