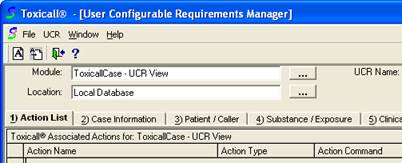
With the UCR saved, the next step is to specify the “UCR Type” and specify the criteria to be met for the message to appear in a chart.
1. At the “User Configurable Requirements Manager” window, locate the “UCR Type” dropdown field located just underneath where the “UCR Name” field is located.
2. Change the “UCR Type” field to the UCR type desired. For this example we will set the UCR type to “Criteria”.
![]()

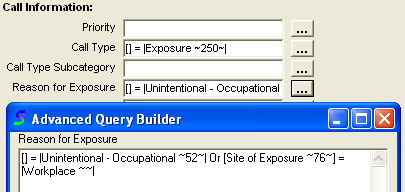
3. To specify the criteria to be met for the message to appear, we will use the numbered tabs in the top area of the window to build our requirements.
![]()

4. The Occupational Case Message Box example will require the case to poses the following criteria.
•Call Type = Exposure
o AND
•Reason for Exposure = Unintentional Exposure
o OR
•Site of Exposure = Workplace

5. Once the case criteria are specified, press the 3-dot button to the right of the “UCR Name:” field. When the “Search Lookup” window opens click on the save icon to save the changes. An informational message will appear that a UCR with the same name already exists and do we wish to replace it. Press “Yes” to update the changes.
6. Press “Cancel” on the “Search Lookup” window to close it.