This portion of the documentation is designed to guide you through the initial configuration of the ToxAutoUpload service after a new installation is conducted.
1. Launch the “toxiCALL® AutoUpload Viewer” desktop application.
a. The application may have automatically launched after the installation is completed. If so, there is no need to manually launch the application.
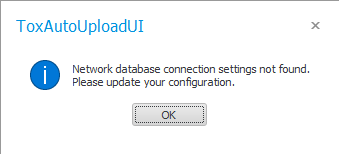
2. You will be presented with a message indicating an existing configuration was not found and you will need to configure the service.
3. Select “OK” to proceed.
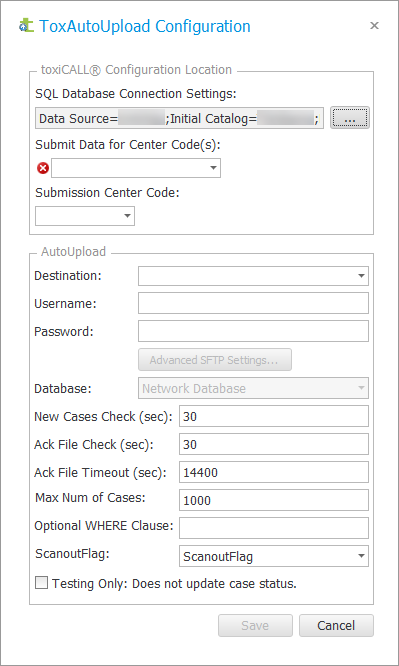
4. The “ToxAutoUpload Configuration” screen will appear.
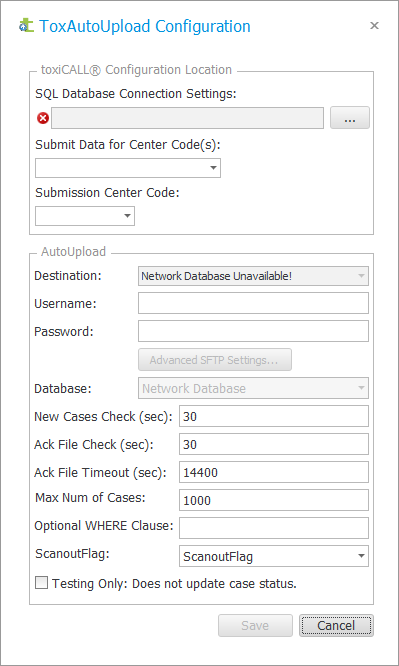
5. Select the “3-dot” button for the “SQL Database Connection Settings” to configure the SQL Server toxiCALL® Database connection settings.

6. Enter the “Server name”.
7. Select the SQL authentication method (“Windows Authentication” or “SQL Server Authentication”).
8. Select the appropriate “Database Name” (typically “ToxiNet” for most environments).
9. NOTE: The “Server Name”, SQL Authentication, and “Database Name” are the same credentials utilized during the installation process. These are the same settings utilized with a new installation of toxiCALL® to connect to the SQL Server backend production database.
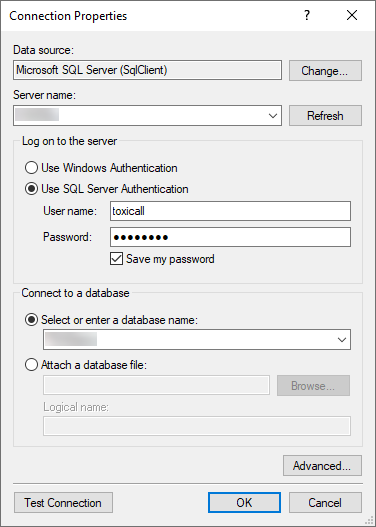
10. Press the “Test Connection” button to validate the connection settings.
11. Press “OK” to the “Test results” window.
12. Press “OK” to the “Connection Properties” window to accept the settings.
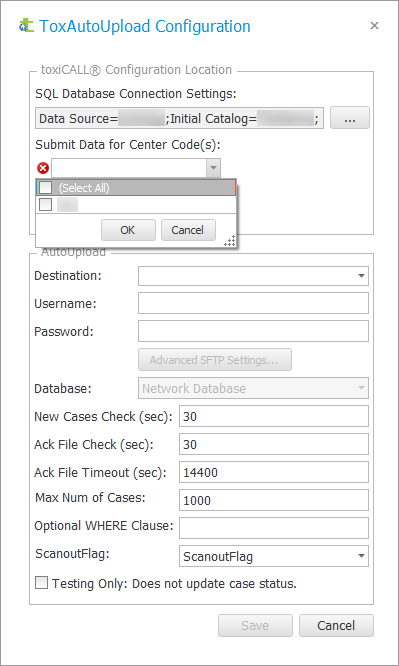
13. Use the “Submit Data for Center Code(s)” dropdown to select the center codes for which you would like to submit data.
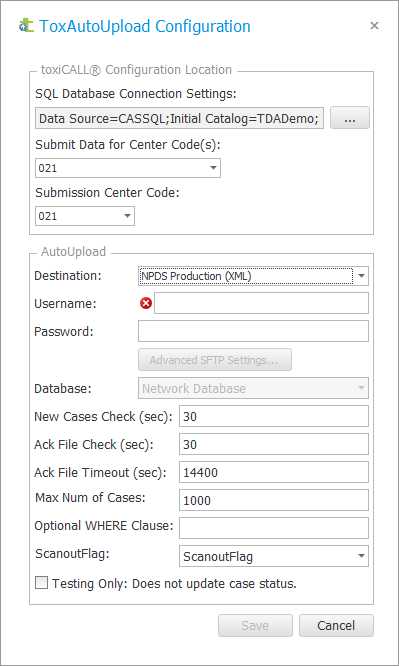
14. Use the “Submission Center Code” to select under which center code to submit the data.
a. For example, if you were submitting data for multiple center codes, perhaps “001” and “002”, you would need to select which of the two center codes the data will be submitted under such as “001”.

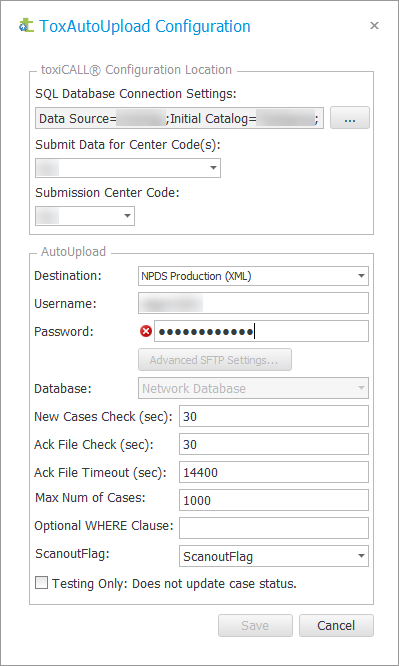
15. Use the “Destination” dropdown menu to select the desired destination.
16. Enter the SFTP “Username” and “Password”. These credentials are provided by the host of the SFTP server. CAS does not have these credentials to provide.
17. The following configuration items can typically be left as default unless you should have a specific reason to alter.
a. New Cases Check (sec)
i. How often ToxAutoUpload checks for new cases to submit.
b. Ack File Check (sec)
i. How often ToxAutoUpload checks for an ACK file to download.
c. Ack File Timeout (sec)
i. How long until ToxAutoUpload abandons checking for an ACK file and re-submits a new submission file.
d. Max Num of Cases
i. The maximum number of cases to include in a single submission file.
ii. Per NPDS specifications, 1000 cases is the maximum number of cases to be included within a single submission.
18. Update the “Optional WHERE Clause” to include the following information:
a. ToxPat.YearCode > 2016
i. The above syntax configures ToxAutoUpload to NOT attempt to scan out any cases with a “Year Code” equal to or less than “2016”. This prevents cases from being rejected due to old validation rules. Also, NPDS is no longer updating case data in older “closed” databases. Please feel free to update the “Year Code” used within this clause as needed in the future if necessary.
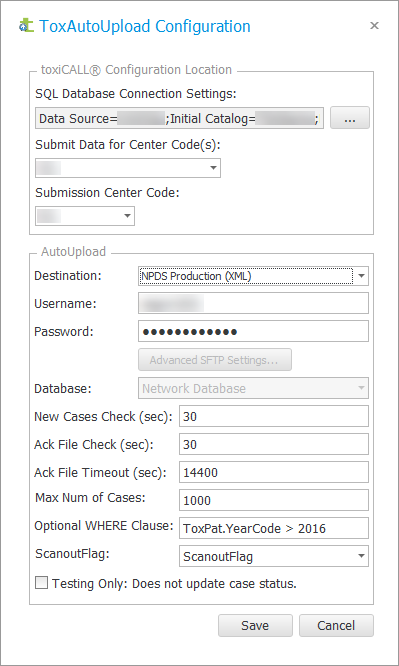
19. Do not select the “Testing Only: Does not update case status.” unless directed by CAS support. This feature will disable case statuses from being updated when an acknowledgement file is processed. This feature is typically only used when sending submission files to the “NPDS Beta Testing Server”. Please consult CAS support if you are interested in utilizing this feature.
20. Press “Save” to save the configuration. The “toxiCALL® AutoUpload Viewer” desktop application will automatically restart.
21. The configuration is complete.
You are now ready to configure the service recovery options and manually start the service. Please reference theand section of this documentation for details.