This can be used to share data with different applications, if necessary.
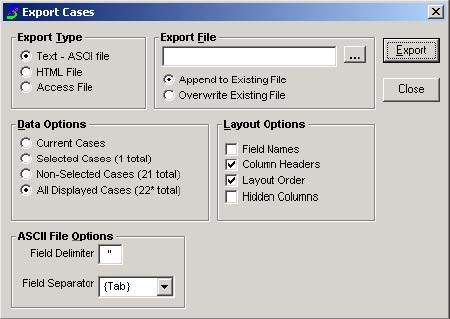
To export a case list to a file, have the necessary cases selected on the Search window. Click the File menu and select Export Cases. In the window, choose the type of file to create in Export Type. In Export File, if you do not have an existing file you’d like to send it to, you can create one here just by clicking the Lookup button, directing the file to the correct folder using the browse window and typing in a new name. Under Data Options, select which cases are to be exported. Under Layout Options, determine which options you’d like included with the file and under ASCII File Options, you can select different field delimiter or separators, if desired. When done, click Export. A window will ask if you would really like to export cases, click Yes, and another window will appear when the process is complete to notify you, click OK.
Note: This method does not export case Notes.
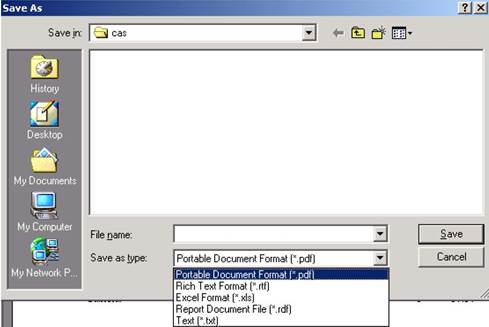
If you have a report generated that you would like to export to a file, this can be done with the same method. The window that appears after clicking Export Cases is a little different though (see below). Here you are just prompted for the format, name and location for the file. Note that there are also several file format options for your reports. The Adobe Acrobat (which requires Adobe Acrobat Reader--a free download from Adobe.com--to view) and Microsoft Excel are probably the most common choices from the list. When done, click Save and it will create the file.