
In this example we will walk through the process of creating a simple query that returns the following pieces of information or “data fields”.
•Start Date
•Year Code
•Caller State
•Caller County
•Patient Age (in years)
•Patient Age Range
•Medical Outcome
•Case Count
To begin, first you will need to create a new query by performing the following steps.
1. Select the “View” tab.

2. Select the “New Query” icon to open a new “Query Designer” window.

The “Query Designer” window will appear.
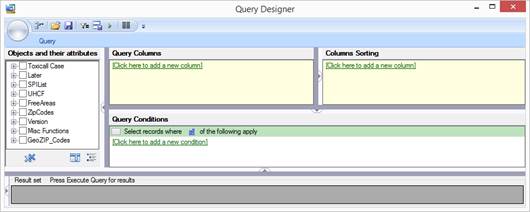
3. We start by adding the “Start Date” field by selecting the green [Click here to add a new column] link. Notice the field selection process is similar to building search criteria. Drill down into the appropriate categories to select the “StartDate” field.
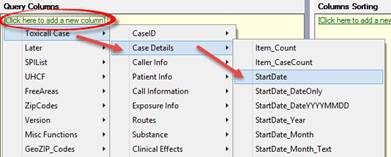
The “StartDate” field is now added to the query.

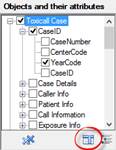
An alternative method for adding data fields to the “Query Columns” area of the “Query Designer” is to use the “Objects and Attributes” tree view.
1. Locate the “Objects and their attributes” area of the “Query Designer” window.
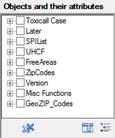
2. In this example, since we have already added the “StartDate” field, we will use the tree view to select the next field of interest “YearCode”. Expand the “Toxicall Case” node by selecting the small “+” symbol, then expand “CaseID” and select “YearCode.
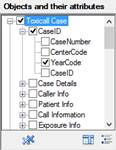
3. Repeat the process to select the remaining data fields of interest. Keep in mind that when building a query, it is preferable to use the “_Text” data field options when available (opposite of when you are building search criteria). This will cause data fields to display their data as standard text such as the word “Exposure” versus the numerical value stored in the database of “250”. This topic is discussed in detail under the section of the documentation.
4. After you have selected the remaining data fields of interest, use the “Add Columns” icon to add your selections to the “Query Columns” area.
The selected columns are now added to the “Query Columns” area.
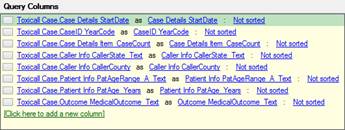
5. The query has now been created and is ready to be saved.