The last step in configuring your SQL Server is to set up a SQL user so TOXICALL® can access its network databases. If you followed the recommendation earlier to install SQL Server with Windows NT Authentication, the SQL Server will start and function normally when the Administrator logs onto the server. But now, we need to give the SQL server a logon for TOXICALL® users.
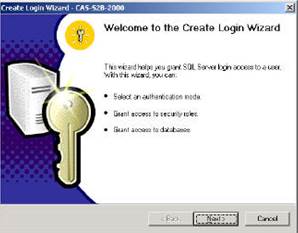
Open the Enterprise Manager, expand the SQL Server Group and select your SQL Server or computer’s name. Next, click the Tools menu and choose Wizards. Click the + next to the Database option and select Create Login Wizard.
Click Next to open the Select Authentication Mode for this Login window. Here, select SQL Server login information and then click Next. This is just the opposite of the Authentication mode that was selected during the installation of SQL Server. The Server software needed to be installed with Windows Authentication, but TOXICALL® needs to access the server with a user account that uses SQL Authentication.
On the next screen, enter the logon name, such as PC123. The next two fields ask for the password. Type the password that you want into the first field and then confirm it by typing it again in the second field. Be sure that you have written down the user name and password as you will need this information when configuring your TOXICALL® clients. When you have done this, click Next.
The next screen asks for the appropriate security roles; click Next without checking any roles.
The new window asks which databases to grant access for this user.
IMPORTANT!—You must check both ToxiNet & ToxiNetUser.
If you forget to check either one, TOXICALL® will not be configured to work correctly with SQL Server. When you have confirmed that both are checked, click on the Next button. Now, click Finish which will pop up a window saying the login was created successfully. Click OK to close the wizard.
Finally, go to the Toxinet database on the left side of the screen and expand it. Find Roles and click on it. On the right side of the screen, double click on the “db_owner” role. Click the Add button, find PC123 (or the logon that you chose above) in the list and click on it. Now click the Apply button. This will need to be repeated for the ToxiNetUser database, and any archives you have created, so expand that database, expand Roles, double click on “db_owner,” click Add and double click on PC123 (or the logon ID that you chose above) when you find it in the list, click Apply and lastly, click OK.
At this point, your SQL Server is configured to work with TOXICALL® and the rest of the steps in this procedure take place from within TOXICALL®.