The below steps will delete the local database so it is critical all cases saved to the local database are uploaded to the network database before continuing.
1. Log into TOXICALL(R) with supervisor rights and ensure the local database is free of any cases.
2. Exit TOXICALL(R) and minimize any open windows.
3. Locate the TOXICALL(R) desktop or start menu icon and right click to open the options menu.
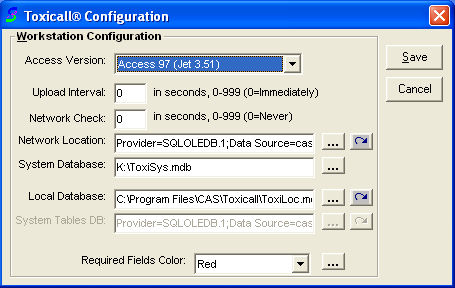
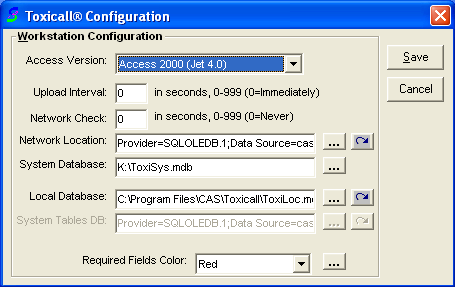
4. Hold the “Shift” key and click “Open” from the options menu. Continue to hold “Shift” until the “TOXICALL(R) Configuration” window appears. (The window should open in a matter of a few seconds. If the window does not appear after 10-15 seconds, repeat the steps and try again.)

5. Locate the “Access Version” drop down menu and change the setting to “Access 200” (or Access 97 if you are reverting back to the default configuration).

6. Next, the local database will need to be recreated under the new driver set and configuration. Click the “3-dot” lookup button to the right of the “Local Database” field.


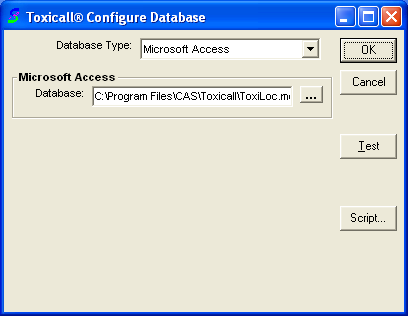
7. The “TOXICALL(R) Configure Database” window will open. Click the “3-dot” lookup button to the right of the “Database” field.


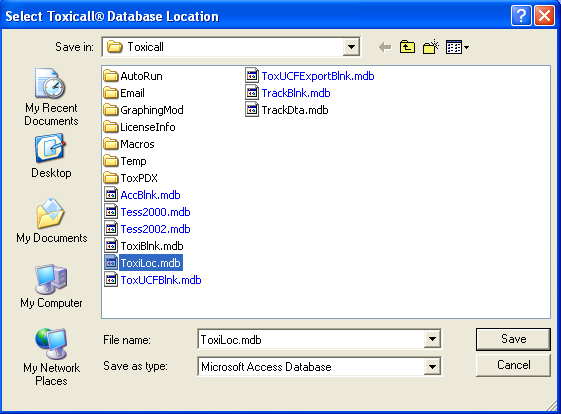
8. The “Select TOXICALL(R) Database Location” window will open. Delete the file named “ToxiLoc.mdb”. Press “Save” once the file has been deleted.
![]()

9. Press “OK” when returned to the “TOXICALL(R) Configure Database” window.
10. You will be prompted that ToxiLoc.mdb does not exist and would you like to create it? Press “Yes”.
11. Press “Save” at the “TOXICALL(R) Configuration” window.
12. TOXICALL(R) will prompt that it needs to close to save the changes. Press “OK”.
13. A table transfer process will occur while the local database is rebuilt. Allow the process to complete and exit TOXICALL(R).
The workstation is now ready for use under the updated Access Driver configuration.