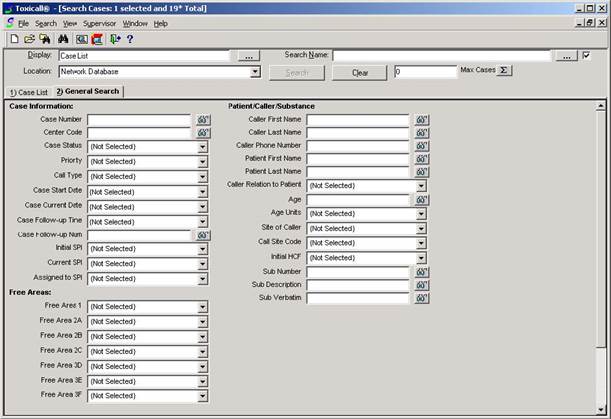
The Case List display can be selected from the Display lookup button at the top left of the functions area of the screen. This display mode allows you to do quick searches from the General tab (shown above) on a select set of fields. Criteria can be added to the search by either clicking the dropdown arrow or the Lookup icon (either eyeglasses or three dots), depending on what is available for a particular field. If you are just looking to put together a search that uses these fields, Case List will be your fastest option.
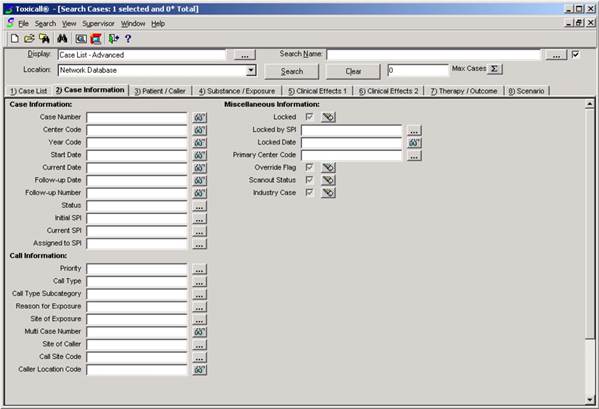
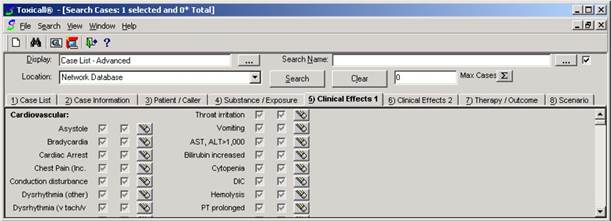
Case List - Advanced allows for more specific searching than the Case List screen. Here there are eight tabs instead of just two. Each tab contains different fields to enter criteria. Case List – Advanced also uses the Lookup icon and dropdown boxes for selections, and it also uses checkboxes with eraser icons. In the screen above, there is a single checkbox and an Eraser icon for each of three fields. The eraser is used to clear a choice from the box. The grayed out checkbox indicates that no criteria is being used. If the checkbox has a checkmark in it, then it is searching for a “True” situation. For example, if the Scanout Status box was checked it would search for cases that have been scanned out to TESS. However, if the box was white, it would be searching for a “False” situation; where cases had not been scanned out to TESS. On the Clinical Effects pages, there is another kind of checkbox setup, two checkboxes and an Eraser icon. The first checkbox is for Related, the second is for Unrelated. The settings for grayed, white and checked remain the same. For example, if you would like to search for cases where Asystole was only Related, you would check the Related box. If you wanted Related and Unrelated for Asystole (locating cases where it was checked either way) you would check both boxes. Conversely, where you were looking for cases with no Asystole checked on the case, you would make both boxes white.