To have the spelling of specific words automatically corrected please follow the below steps.
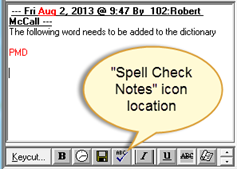
1. To access the “Check Spelling” window, select the “Spell Check Notes” icon just below the open notes area. (If you do not see the icon pointed out in the image below, check to ensure “Spell Check” is enabled in the workstation options.) Additionally, if the icon is greyed out, type a few characters into the open notes and it will become available.
2. The “Check Spelling” window will appear.
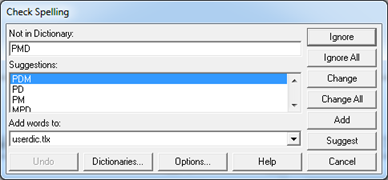
3. Select the “Dictionaries” button to open the “User Dictionaries” window.
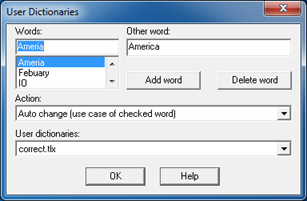
4. Ensure the “User Dictionaries:” dropdown is set to “correct.tlx”.
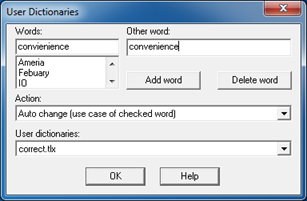
5. In the “Words:” field, enter the INCORRECT spelling of a commonly misspelled word. For example, “convienience”.
6. In the “Other word:” field, enter the CORRECT spelling of the word. In this example, “convenience”.
7. Set the “Action:” drop down menu to “Auto change (use case of checked word)”. The image below displays the final settings.
8. Press the “Add Word” button to add the new auto correction list.
9. Press “OK” to close the “User Dictionaries” window. Press “Cancel” at the “Check Spelling” window to return to the case entry screen.
10. The auto correct update is complete.